There are two ways to enable or disable Auto Select. Either individually per match type in the structure view in Product Management, or for multiple at the same time via Multi-Select.
1. Enable Auto Select individually
2. Enable Auto Select via Multi-Select
Enable Auto-Select individually
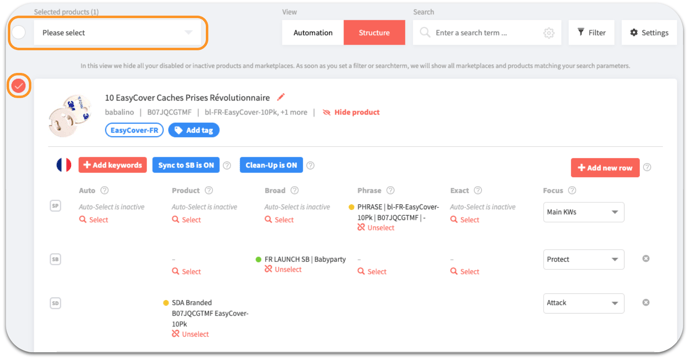
Step 1: Go to Product Management and open the structure view. Now search for the product for which you want to activate Auto Select. If Auto Select is not yet enabled, you will see the following view:
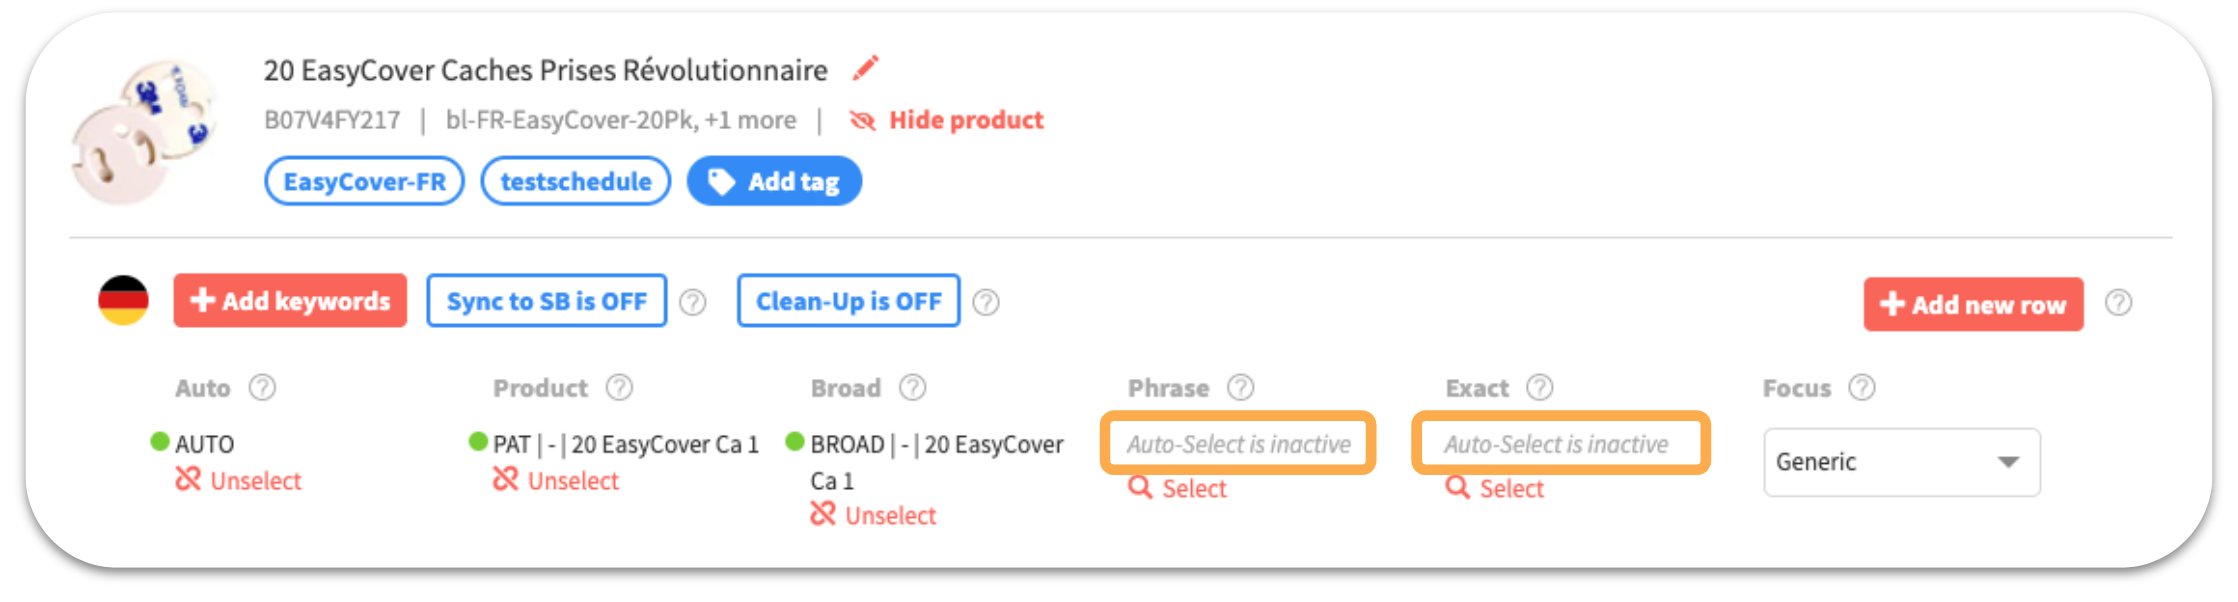
Step 2: Click Select under the corresponding Match Types. The following window will open:
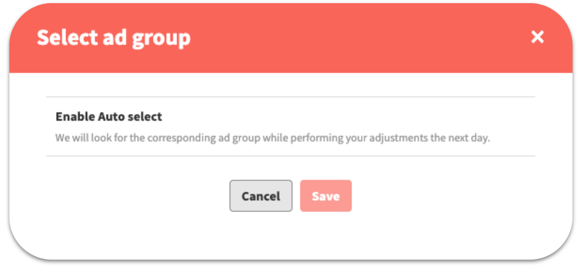
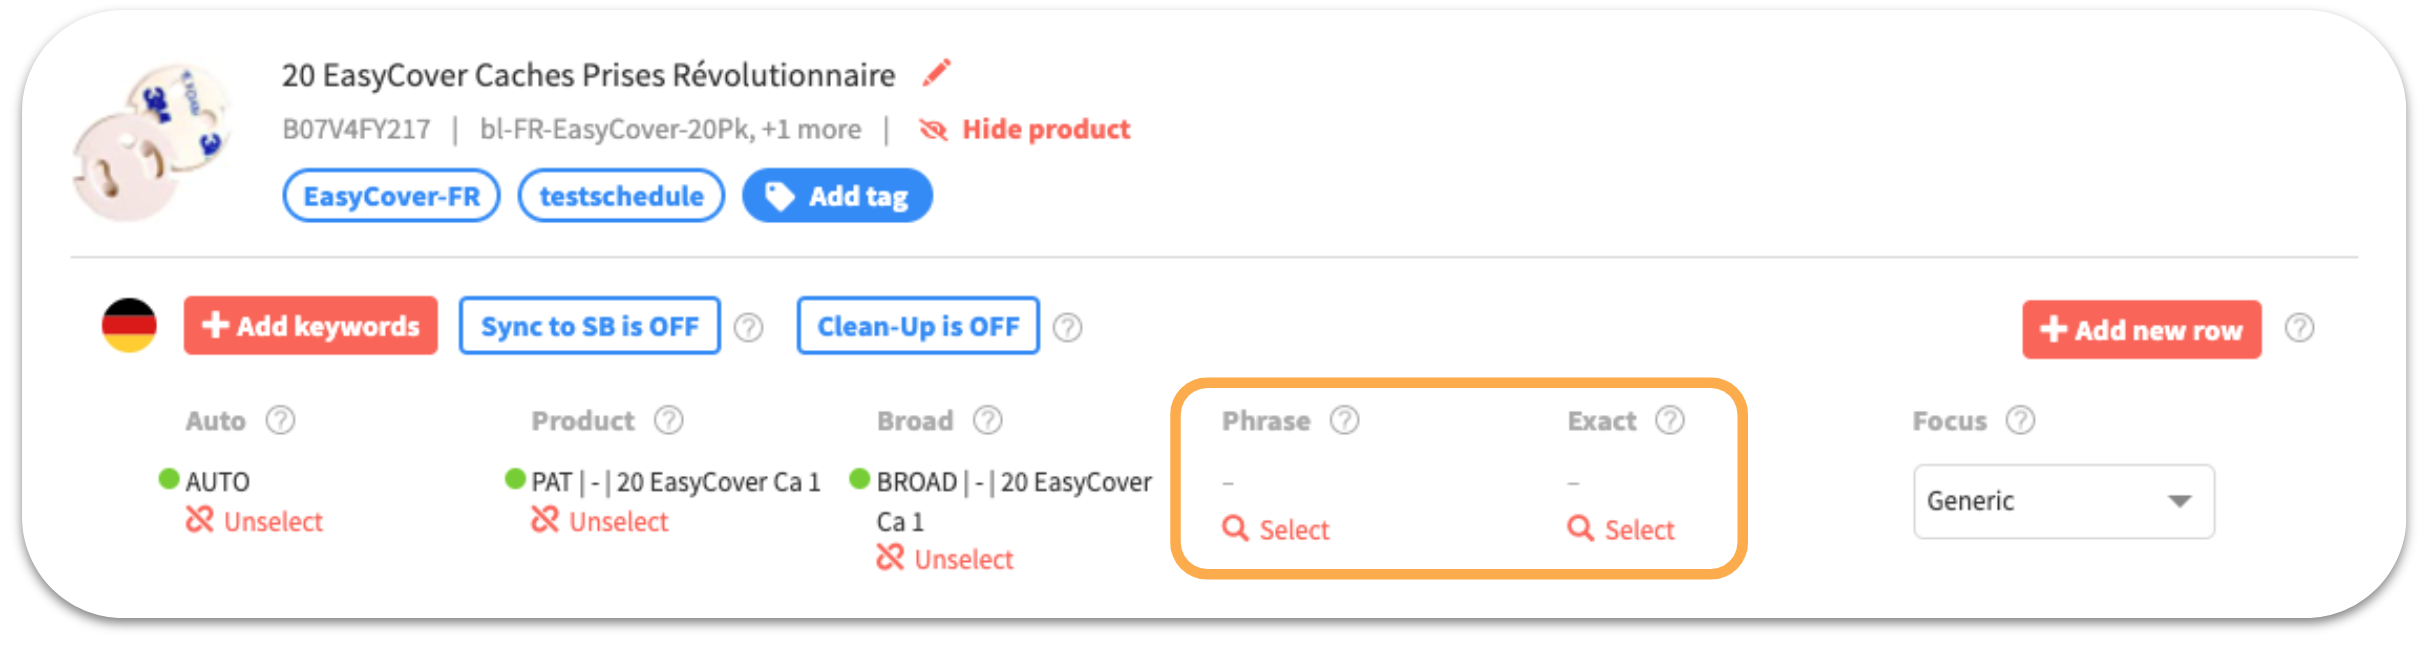
Step 3: Press Enable Auto Select and then press Save. You will then see the following screen. Auto Select is now enabled.
Enable Auto Select via Multi-Select
Step 1: Go to Product Management. Now you can select products on the left side with the Multi-Select function. Then click on the "Please select" button in the bar at the top left above the products. In the appearing dropdown-menu, you can now select "Enable/Disable Auto Select" at the very bottom.
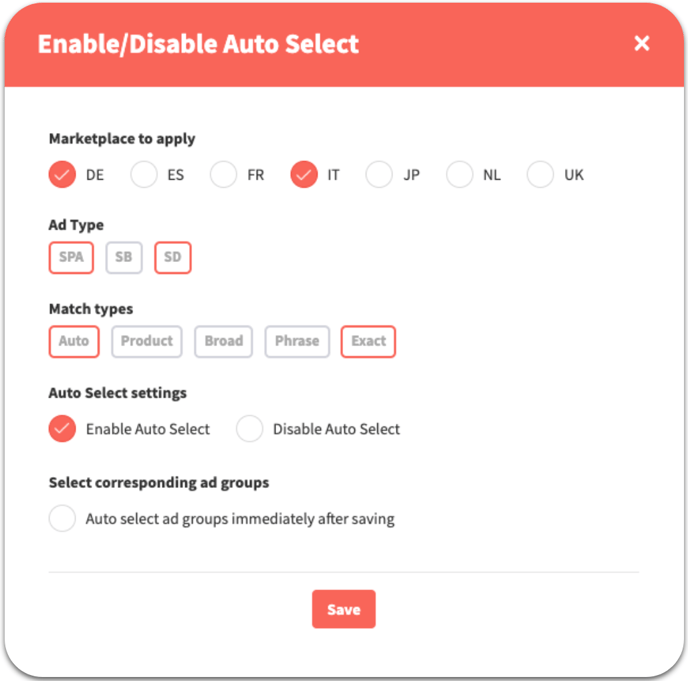
Step 2: Then a window will appear. In this window, select for which marketplace, row of advertising type and match type Auto Select should be activated or deactivated. This way it is possible to activate Auto Select for specific Match Types, rows or Marketplaces.
There is also an option to select an ad group automatically while enabling Auto Select for the affected Match Type.